Home
Home

 Artists
 Search
 Recent
 Random
 Posts
Posts
 DMs
DMs
 Tags
Tags
 Random
 Importer
 Import
 FAQ
FAQ
 Account
 Register
 Favorites
 Login
Login

a complete, unedited session (preview) (Patreon)
Content
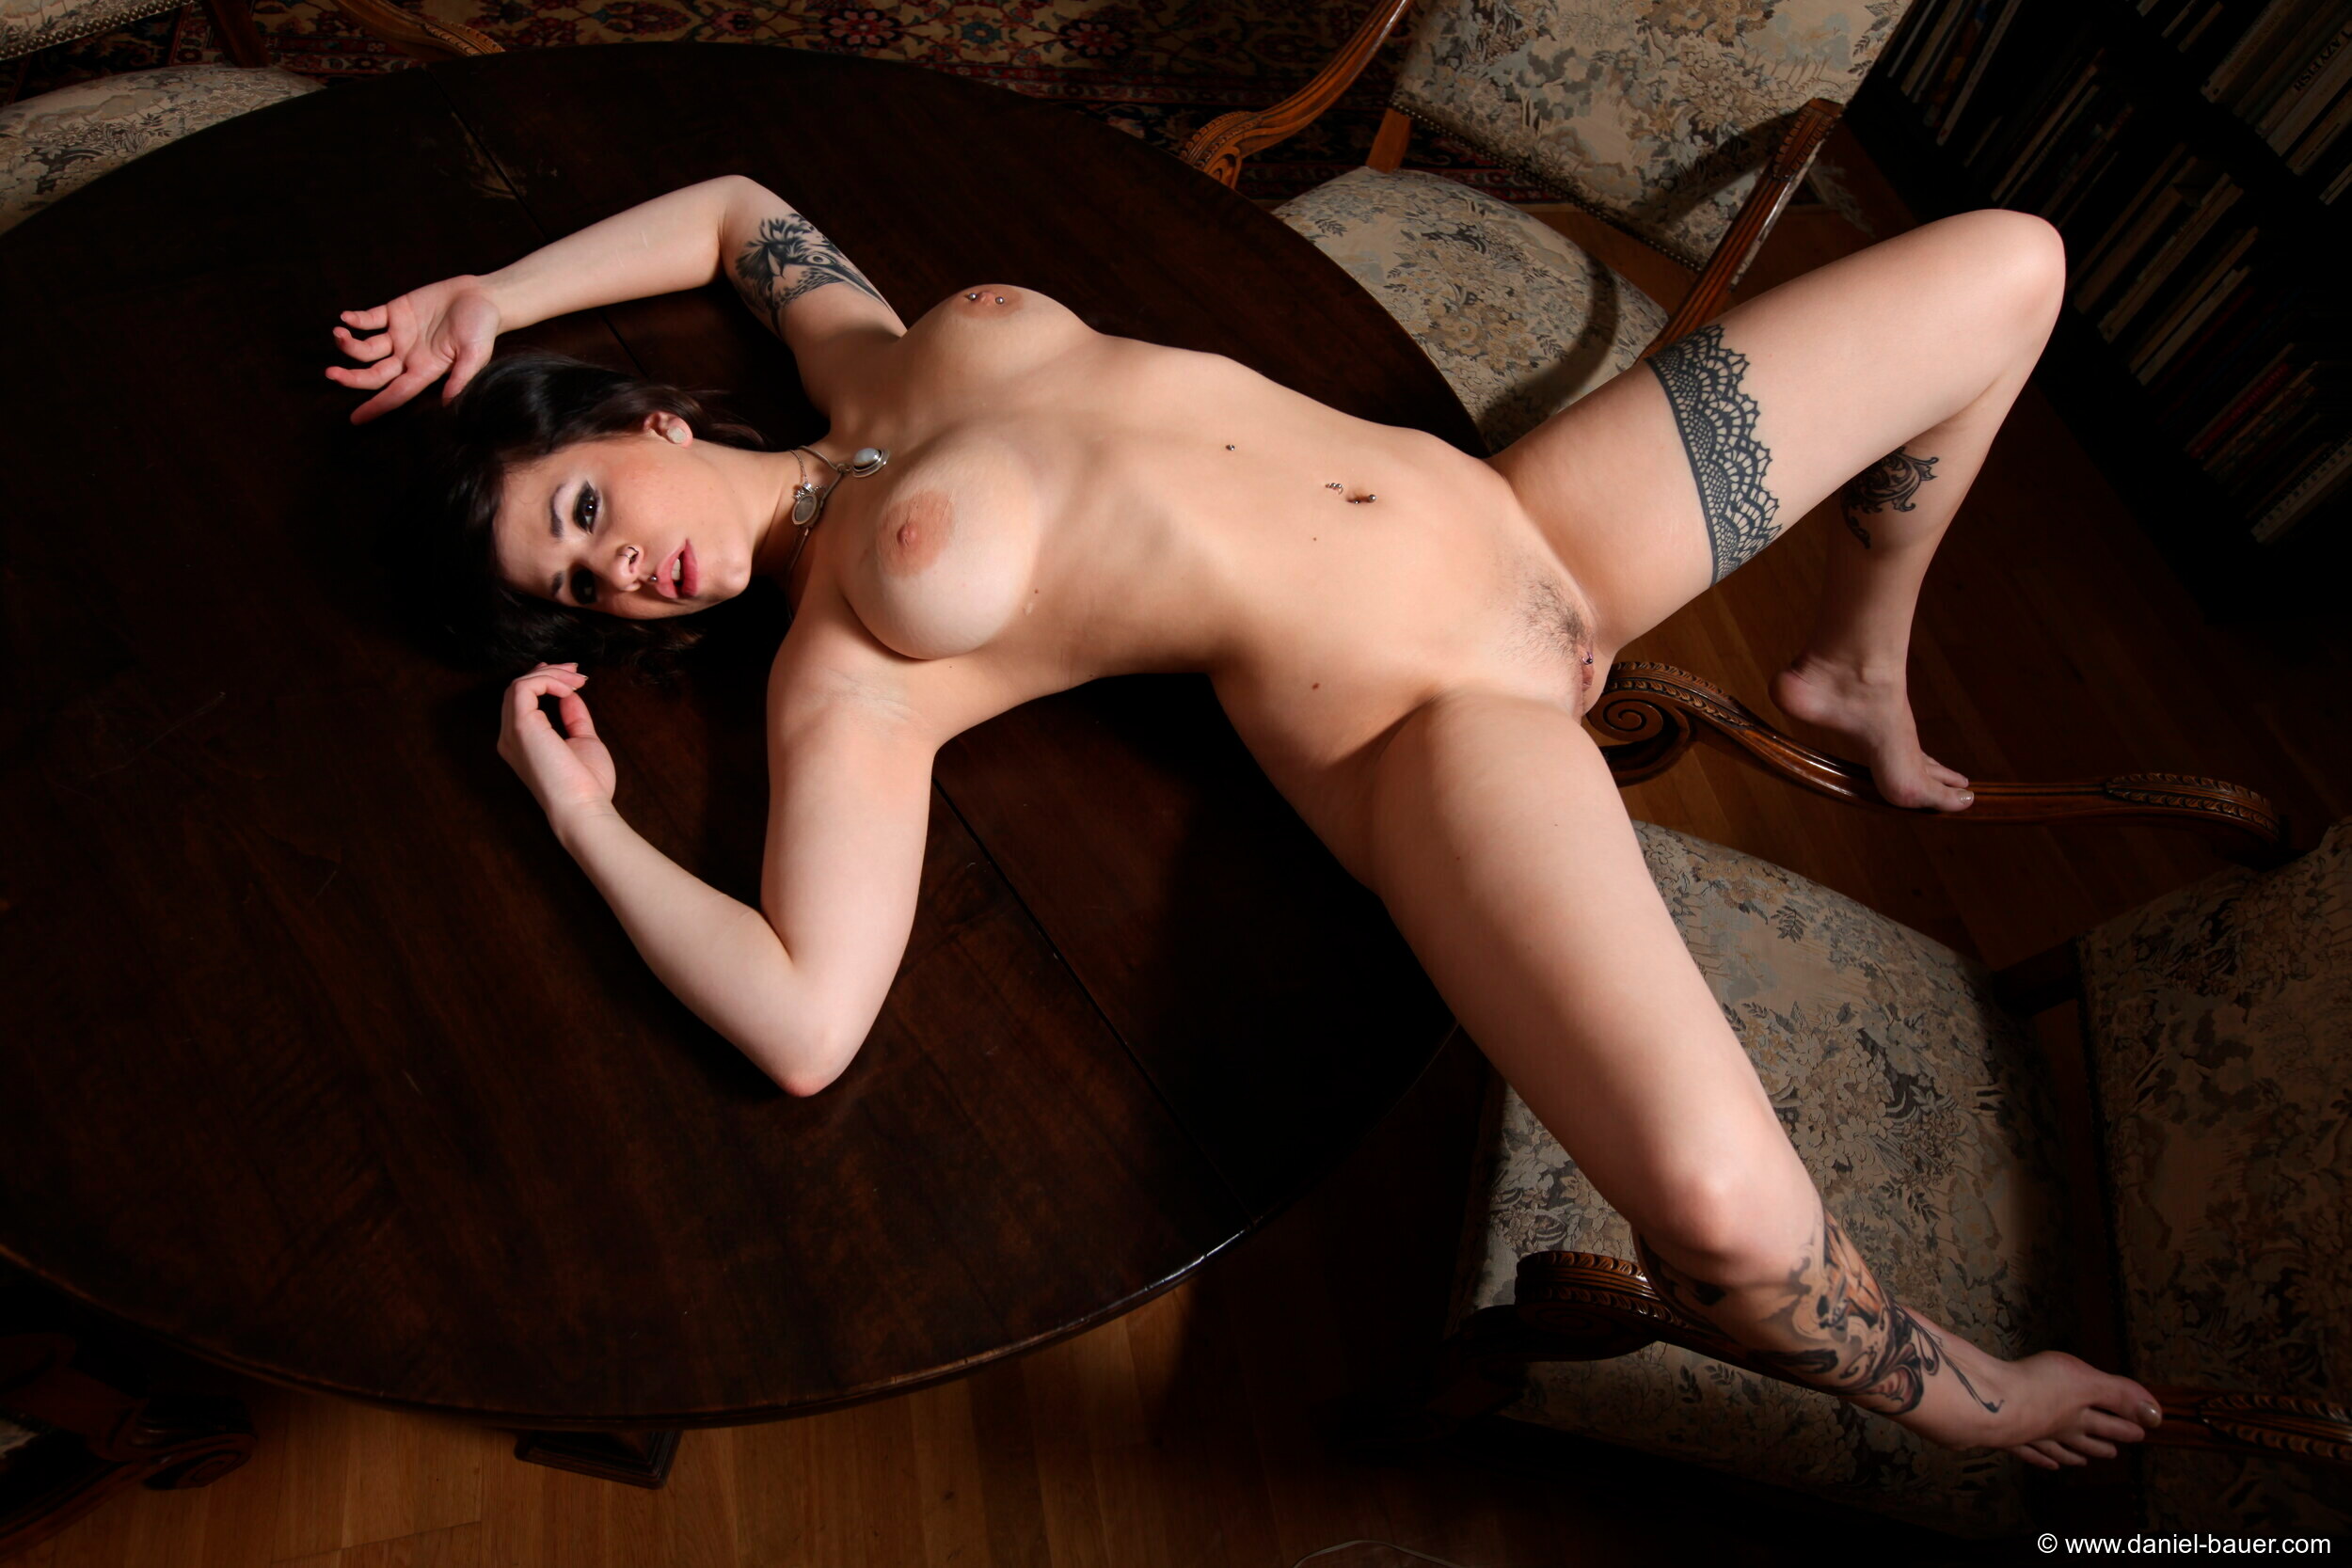
When I photographed this young woman in Barcelona, I still had my paysite guapamania.com and somehow the pictures didn't fit into my concept at the time, so these photos, which I'm publishing for the first time today, have never been seen anywhere before.
I'm using this case to give you a kind of behind the scenes look at how a session evolves, so I'm publishing the complete session in three series with more than 300 shots, not a single image deleted (except 5 where the flash didn't flash and which were completely black), so you can see how poses evolve, how many more or less identical photos I take, from which I then usually choose the ones that seem best to me. But today I'm showing you all the shots.
I'm taking this opportunity to chat a bit about technical stuff and how I proceed in a photo session, for those who are interested... It's going to be a longer text and I'm splitting it up for the previews of the different series :-)
First the technical stuff:
I normally shoot in RAW+jpg. RAW is a file that contains all the information that the camera sensor has received, it is about 30 to 50 MB in size. I can then "develop" this RAW in a special program and set the correct white balance to get the correct colors.
For those who don't know, the colors depend on the light source. Natural sunlight usually contains all colors, so a white sheet of paper would appear truly white in the photo, while a light bulb, for example, contains only part of the entire color spectrum (mainly missing the "hot" blues) and a white paper will appear very reddish in the resulting photo. A person's skin would have a strong orange/red cast. Dark or black parts could appear greenish.
Professional flash light has a similar (but not the same) spectrum as sunlight, which is why the resulting images sometimes appear too cold or too warm.
White balance is used to correct this. The colors are changed so that a white surface actually appears white and a black surface actually appears black. This white balance can only be carried out correctly with RAW files because they contain all the color information of the original shot.
In addition, the camera chip can record more information than will be visible in the final image. For example, details are still contained in areas that are too dark or too light and therefore simply appear black or white. When "developing" a RAW file, overexposed or underexposed images can be easily corrected within a certain, but fairly wide range and you can even bring out details in areas that are too dark or too light to show them in the image.
JPEG files (.jpg), on the other hand, only contain a small part of the original information, which is why - in my camera - they are often only 3 or 4 MB in size. The camera (or the phone) has its own programs that try to achieve the most natural colors possible (perform an automatic white balance) and adjust brightness and contrast. All information that will later be barely visible to the human eye is then removed from the file. This means that details that were still present in the RAW file are simply deleted in the JPEG and can no longer be retrieved even with the best program.
In addition, very similar colors are combined into a single color. For example, dark hair, in which the manual brightness/contrast setting of the RAW image could still bring out strands although the color and brightness values are very similar, is combined into a single dark area without details in the JPEG.
You can change JPEG images with Photoshop (or in my case GIMP), make them brighter or darker, change the contrasts and colors somewhat, but the "real" colors and the details in overexposed or underexposed parts can no longer be recovered because they are simply no longer there.
As mentioned above, I shoot in RAW+jpg. This means that the camera saves two versions of each image: the original RAW image, which I will edit later, and a JPEG file, which the camera processes automatically with its algorithms as described. I use these automatic versions to select the images that I will later edit from RAW. This is much faster because the files are much smaller and because displaying RAW files requires a lot of processing power and therefore takes a relatively long time. However, when selecting the images, it doesn't matter that in most cases they are hardly suitable for further processing.
For some reason, I only have the JPEG versions of the session I'm showing for the first time today. I don't know if I had the camera set up incorrectly at the time or if I lost the RAW files when copying them between old and new computers or backing them up.
Either way, the series I'm showing today are the JPEG versions as they came out of the camera. Without any subsequent correction, without cropping or rotation, without retouching.
Here is a preview of the first large series from the beginning of the session.
Files