Home
Home

 Artists
 Search
 Recent
 Random
 Posts
Posts
 DMs
DMs
 Tags
Tags
 Random
 Importer
 Import
 FAQ
FAQ
 Account
 Register
 Favorites
 Login
Login

These Boots Were Made For Zippin' (REPAIR PROJECT) (Patreon)
Content
Some years ago I bought some cheap boots on sale at my grocery store. They were either $40 or $20, I can't remember. They served me well but they were not made to last, so inevitably the interiors began disintegrating- which was fine, I could still wear them! Nobody but me knew that the insides looked like a literal rat's nest. But then each boot zipper's teeth grew progressively more mangled until they were finally unusable.

Fortuitously, around this time I learned about Mending Bloc, a monthly meet-up that rotates around public spaces in Portland during the summer to teach people how to mend their clothes, and wouldn't you know? Their next spot was just a short bike ride away for me! I was thinking maybe somebody would know how to fix zipper teeth, but instead I was told that the whole thing needed to be replaced, which sounds super intimidating but it turns out it's actually really simple???

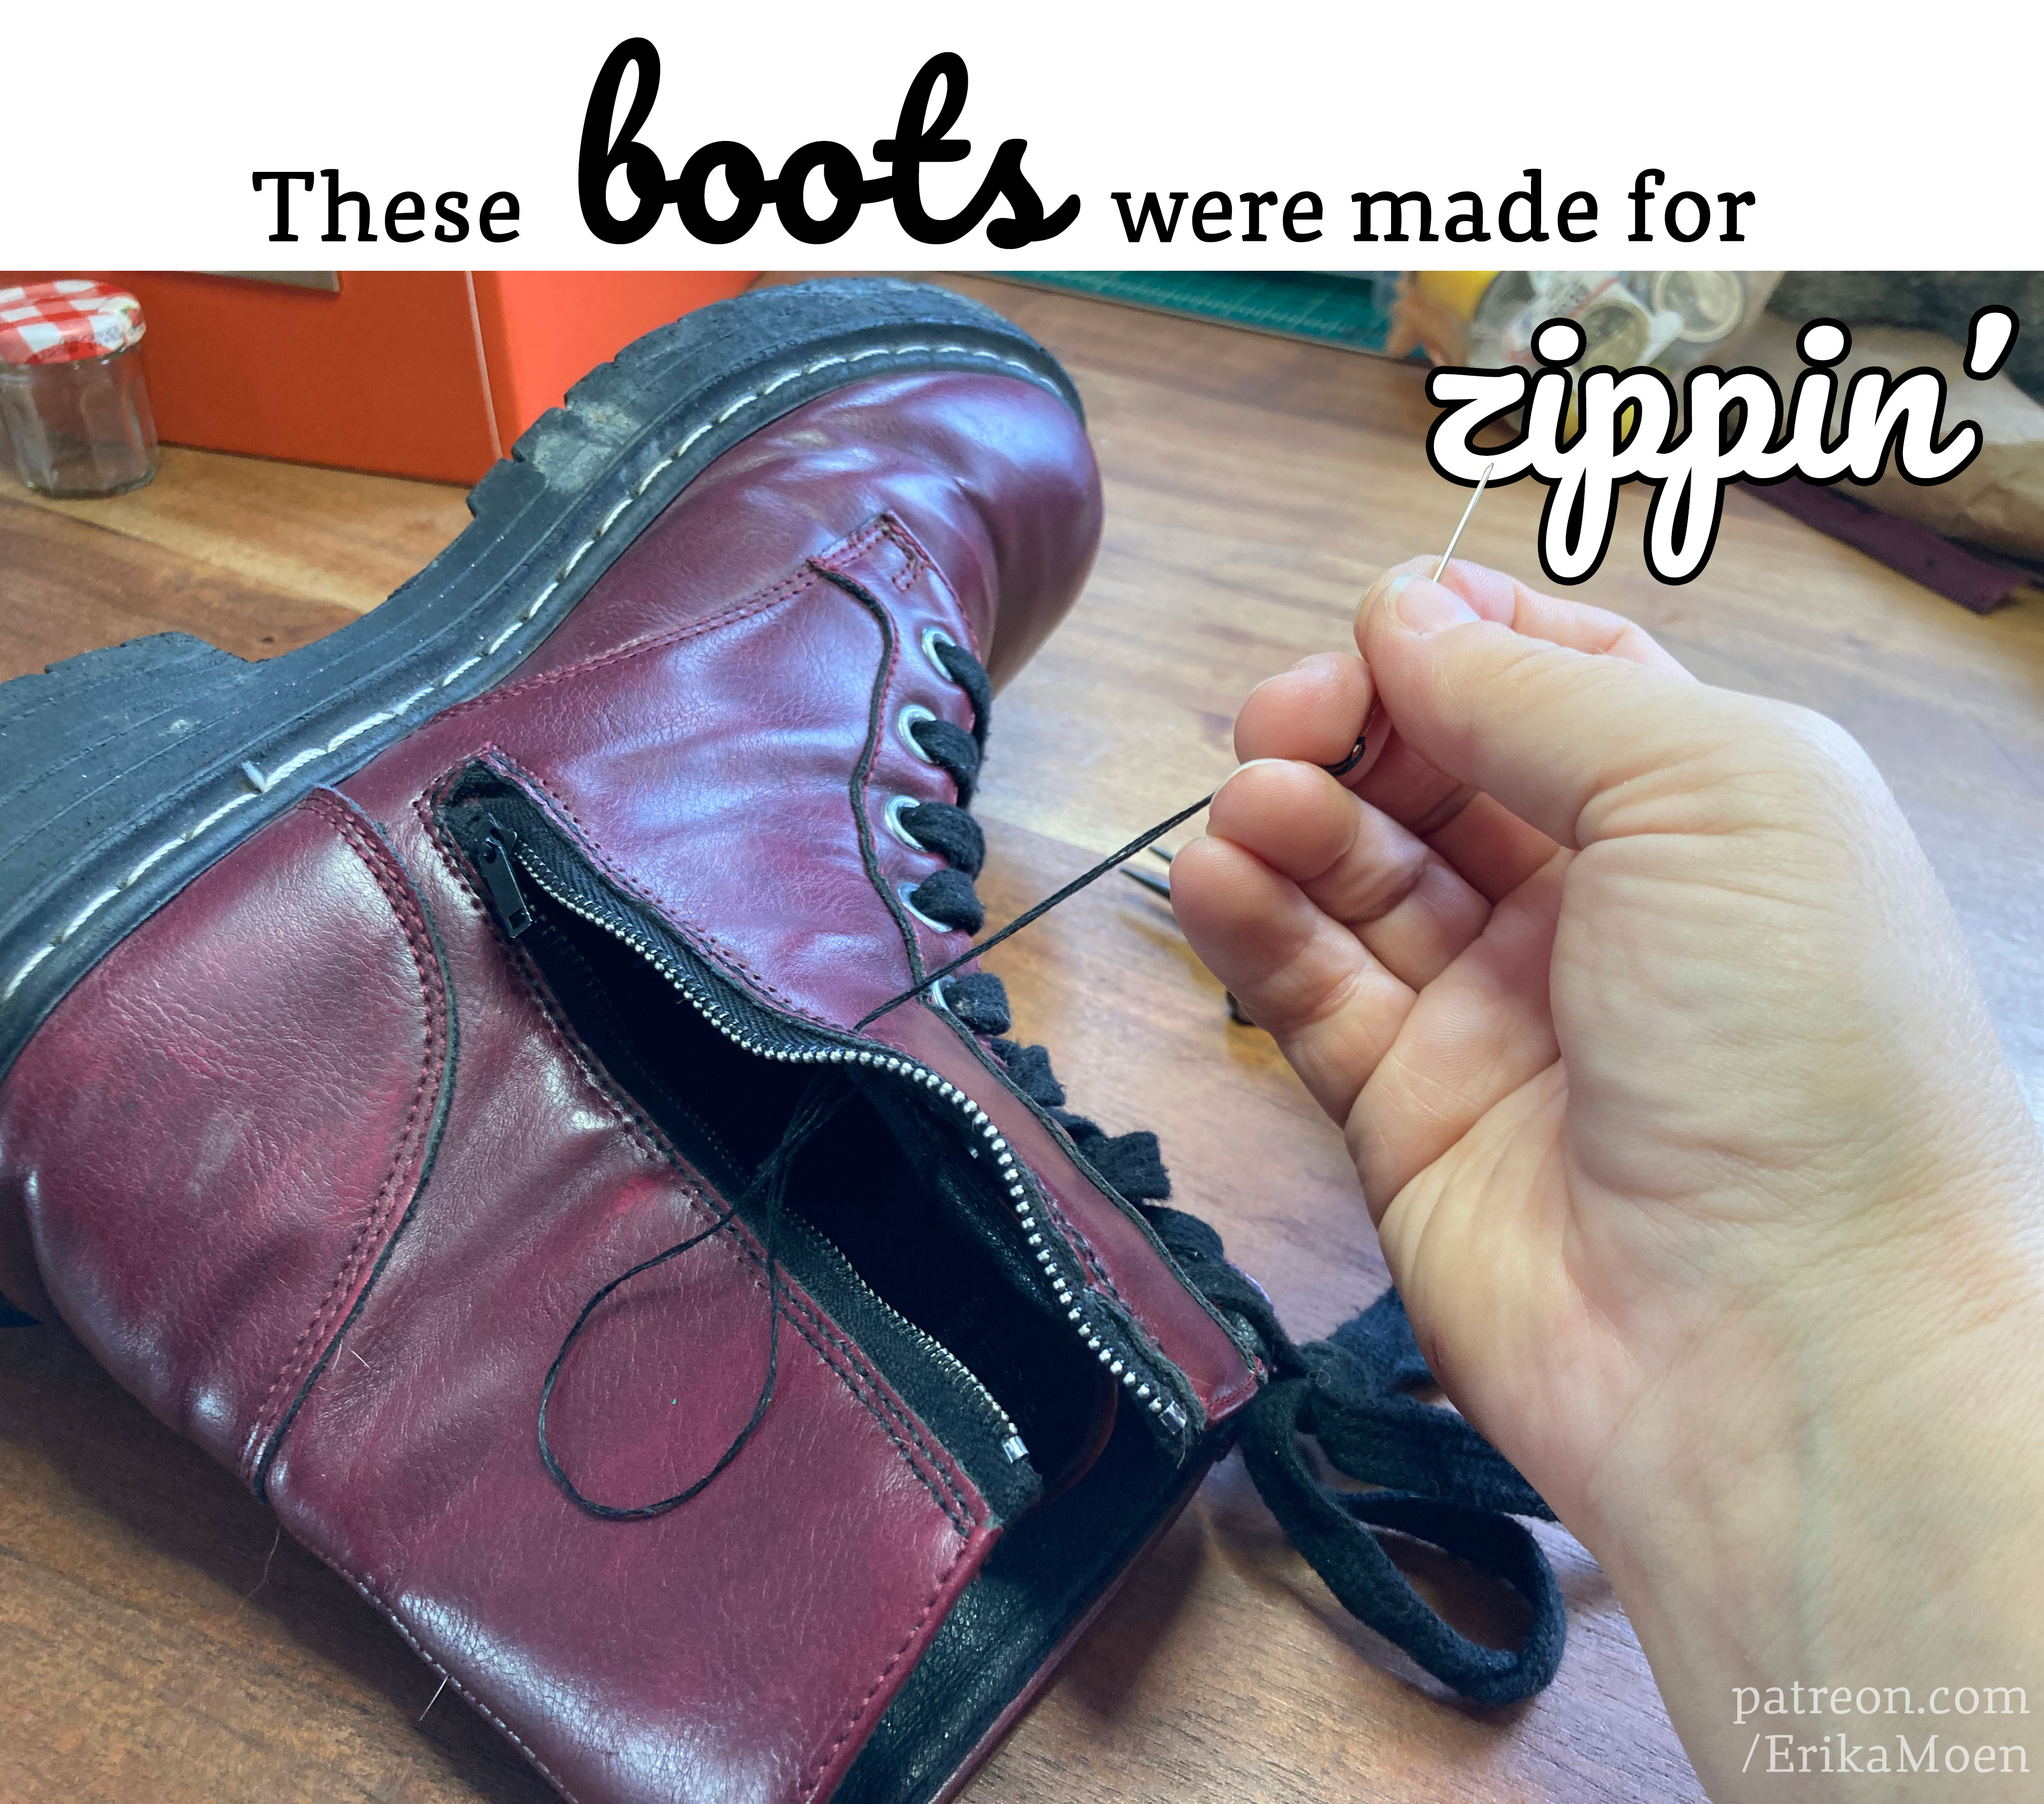
So first you need to rip out all the stitches that are holding the zipper in place, which is actually a very satisfying activity to do with a seam ripper.

At Scrap PDX I picked up a handful of second-hand zippers for under $1 total.

Then you just swap them in, sewing through the pre-existing holes that were punched for the original stitches! You don't even need a special leather-working needle or anything, my regular ol' fabric sewing needle did just fine. I used pliers to pull it through, but I do that even when I'm embroidering on normal fabric because my hands get strained easily.
Now, here's where things take a turn.

After I had finished sewing in the zipper on the left boot and was half-way through with the right, I noticed I had these leftover black strips of faux-leather(?) that were not attached to anything. I assumed they must have covered the zippers originally as an aesthetic touch and I had just neglected to put them back in place before I started sewing. I took a poll on Instagram asking if I should finish them as-is or if I should take out all my (hand sewn) stitches and add the flaps in properly. Several people pointed out that the flaps weren't just for style, they actually served the purpose of keeping the zippers protected from the elements. Once again, I tore out all my old stitches so I could sew the protective flaps in place properly, as they were meant to be. It was definitely more challenging working with more layers of material and trying to keep everything in the right place- but worth it! A job worth doing is a job worth doing well!

However.
As I was putting together this very post that you are reading now, I realized something.

Nope. I did not bother to check my reference photos before I went about adding back in those extra flaps of black material that I had left in my boots after removing all the original stitches (twice!!!). It is only now, here, because I am making a post for you guys, that I realize my error.

Whatever. It's fine. It's fine. They look fine. The work fine. It's fine.
Of course, the interiors are seriously falling apart now- whole swaths of fabric and cushioning has eroded, leaving these... plastic? bits? exposed. They're still wearable! But I should probably start researching what you do to fix all that... inside stuff.
Wish me luck!
Files